Streamline your processes with Contini Orologi’s services.
Why choose our service?
Production Optimization
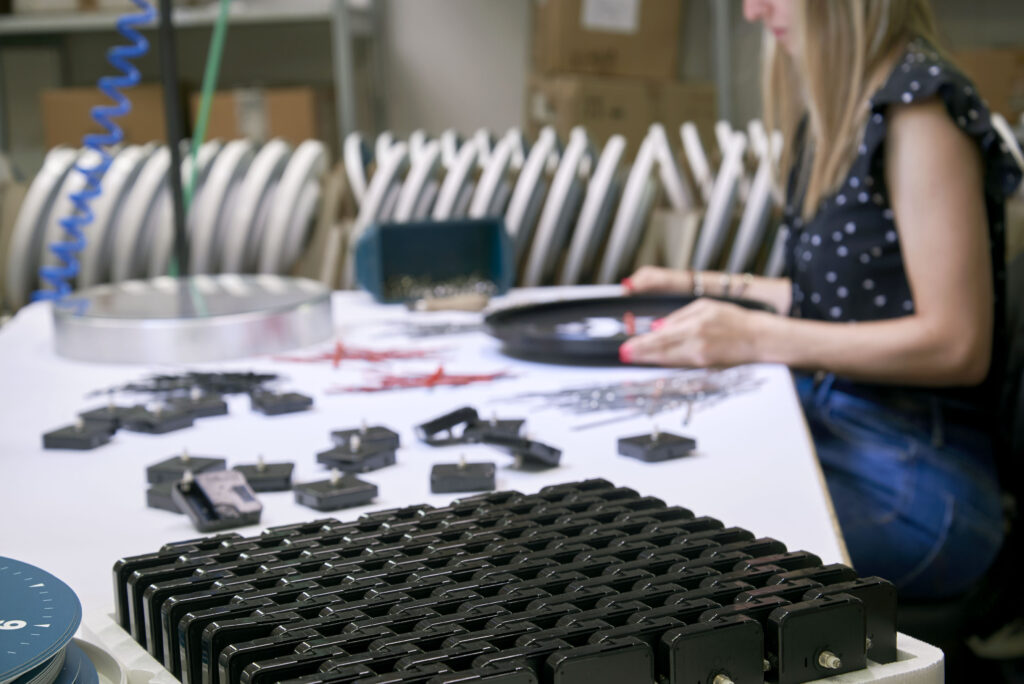
Assembly is a process that requires time, resources, and specific expertise.
Relying on us means reducing assembly time and allows you to focus on the Design, Marketing, and sales of your clocks!
Quality and precision
We guarantee precise assembly, carried out by qualified personnel.
Our attention to detail, rigorous quality controls, and experience ensure you an impeccable finished product.
Simplify your packaging
We can provide packaging solutions, simplifying the final stage of production.
Alternatively, we can manage and use the customized packaging provided by the client.
Simplify your logistic
We organize shipments and logistics of your products on your behalf.
Ask For Information
How does our assembly service work?
We’d like to explain our working method by walking you through each step of the process.
Operative Process

The customer supplies their own dials and packaging

We will assemble the clock with clock movement and clock hands, selecting components that integrate well with the dial design

Our team performs quality control on each clock, ensuring it works perfectly.

The clock will be packaged by us using the packaging provided by the customer or with one of our standard options.
 Finally, we will arrange the shipment of the clocks, ready for sale.
Ready to work together?
Frequently Asked Questions about our service (FAQ)
We can assemble wall clocks, table clocks, and other custom models upon request
No, we provide the clock movements and the clock hands. The customer can supply the dials and, if needed, their own custom packaging.
Alternatively, we can offer standard boxes.
Yes, we can handle direct shipping to retail locations or end customers.
Some technical information
Assembling a clock is very simple, but it requires precision:
Insert the rubber spacer onto the shaft of the clock movement, then place the clock dial.
Add the washer and nut, and tighten gently (do not overtighten).
Insert the hands in this order: first the hour hand, then the minute hand, and finally the second hand.
Test the movement by manually rotating the second hand clockwise for a full turn to ensure proper functionality.
We recommend downloading our assembly instructions:
How to assemble a clock movement (PDF)
How to install the clock hands:
Insert the hour hand by gently pressing it onto the shaft at the 12 o’clock position, until it reaches the stop point at the threading.
Insert the minute hand the same way, aligning it at the 12 o’clock position and pushing it down until it stops.
Insert the second hand into the central hole at the tip of the shaft.
Test the mechanism by manually rotating the second hand clockwise for a full turn to ensure it moves smoothly.
The rubber spacer/gasket is used to keep the clock movement firmly in place against the dial.
It is positioned between the clock movement and the dial.
You don’t need to overtighten the nut to secure the movement to the dial—just tighten it enough to ensure the two are firmly held together.
A force of approximately 1.3 N is sufficient.
The nut, washer, and bushing are fastening accessories used to secure the clock movement to the dial.
NUT AND WASHER:
Once the movement is inserted into the dial, about 2–3 mm of threading should protrude in order to fasten it correctly.
First, the washer is placed against the dial, followed by the nut, which should be tightened firmly—but not excessively.BUSHING:
The bushing is inserted onto the shaft of the clock movement, flush against the dial.
It features a threaded section that, during assembly, screws onto the threading of the movement itself.
